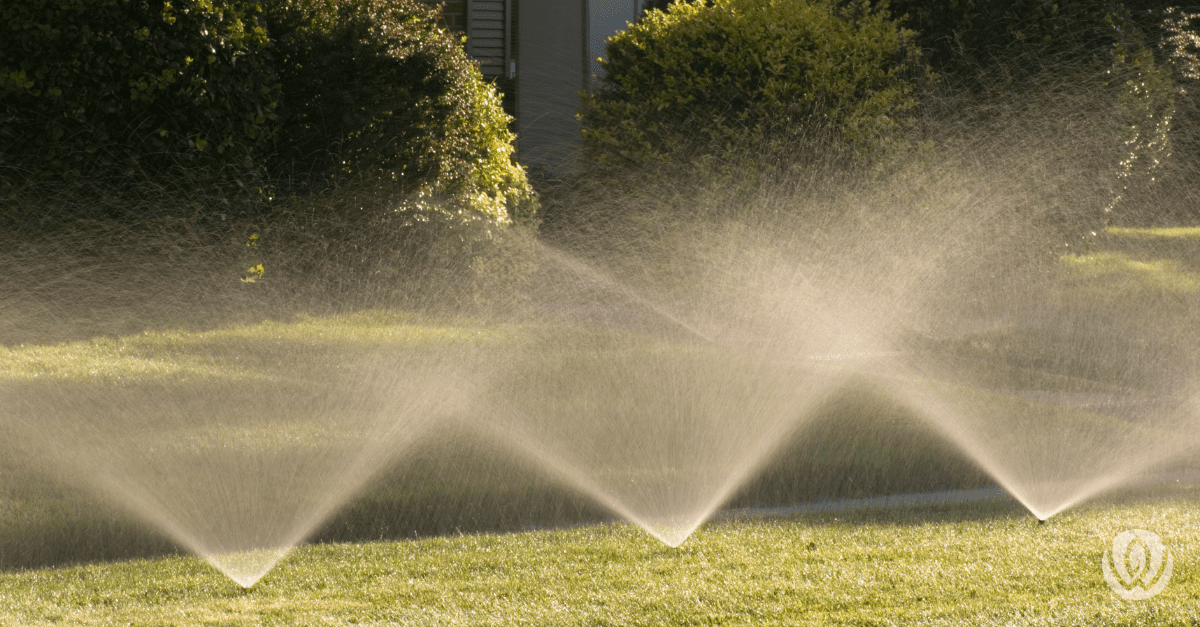
Your sprinkler system has worked hard all season long, keeping your lawn lush and your outdoor living space looking its best. But as temperatures drop and winter approaches, winterizing your sprinkler system prevents expensive repairs and ensures it’s ready to do its job when spring arrives.
Any water remaining in your irrigation system when temperatures dip below freezing can cause pipes to burst, fittings to crack, and sprinkler heads to break. The cost of repairing freeze damage can easily cost thousands of dollars.
However, winterizing your sprinkler system isn't just about avoiding frozen pipes. It's about preserving the beauty and function of your outdoor space.
Your irrigation system is part of the foundation that makes your yard a place of restoration and calm, a sanctuary where you can truly live well. Having this system on the fritz—and paying the bill to repair it—is a source of stress you don’t need in a space that’s meant to help you relax.
Speaking of stress, sprinkler winterization might sound intimidating, but it doesn’t have to be. Whether you're a DIY homeowner or prefer to work with professionals, understanding the process helps you make informed decisions about maintaining your system.

Timing matters when it comes to sprinkler winterization. The ideal window is after your lawn has gone dormant but before the first hard freeze. For most regions, this typically falls between late October and mid-November, though your specific climate may vary.
Don't wait for a freeze warning in the weather report. A good rule of thumb is to winterize your irrigation system when nighttime temperatures consistently drop into the low 40s. Once temperatures hit freezing, any water in your system could already be causing damage.
Here's how to drain your sprinkler system and prepare it for the cold days ahead.
Find the main valve near your water meter or where the irrigation line branches off from your main water supply. Turn this valve clockwise until it's fully closed.
If your system has a backflow preventer (a device that keeps irrigation water from flowing back into your potable water supply), you'll need to shut off this valve as well.

If your sprinkler system runs on an automatic timer, it's time to power it down for the season. Many modern controllers feature a "rain mode" or "system off" setting that shuts down operation while preserving your programmed schedule. This option is ideal because you won't need to reprogram everything in the spring.
If your controller doesn't have a rain mode, just remember that you might lose your programming, so consider taking a photo of your settings before powering down.
This is the most critical step in the sprinkler winterization process. Any water left in the lines can freeze and cause damage. The method you'll use depends on your system type.
Some irrigation systems have manual drain valves located at low points in the piping or at the ends of zones. If your system includes these valves, wear eye protection (the water is under pressure) and slowly open each valve, allowing water to drain completely before closing it again.
Many modern systems feature automatic drain valves that open when water pressure drops. To activate this drainage, shut off the main water supply, then manually run each sprinkler zone. As the pressure drops, the automatic valves should open and allow water to drain.
Even with automatic drainage, some water remains trapped in the valves. Locate each valve's solenoid (a plastic cap with wires coming out of the top) and carefully loosen it to allow air in and remaining water out.
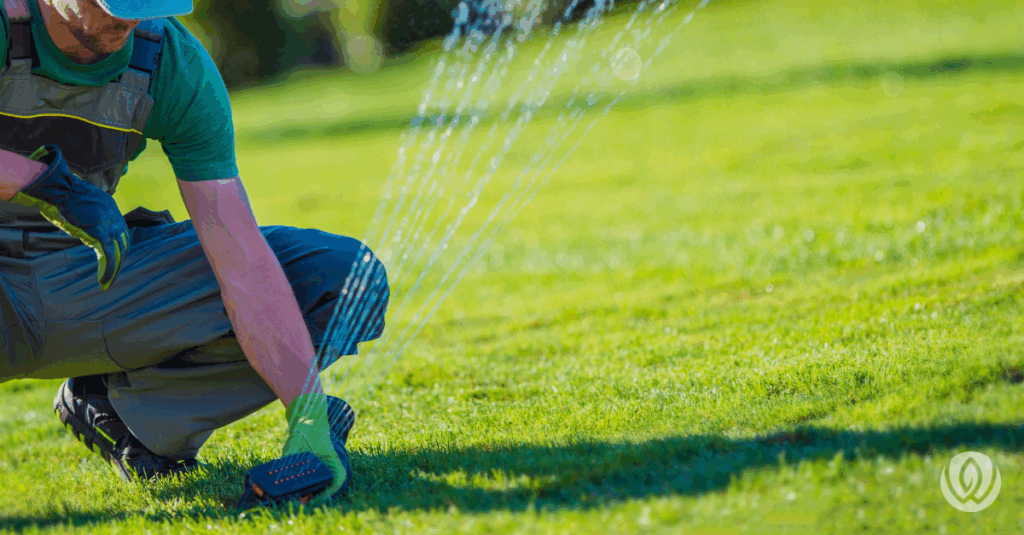
The sprinkler blowout method uses compressed air to force water out of the irrigation lines. While this is the most thorough drainage technique, it requires specialized equipment and expertise. Using improper pressure or technique can damage your system, so this method is best left to professionals unless you have significant experience with air compressors.
The cost of professional sprinkler blowout service is minimal compared to repairing burst pipes or replacing damaged components. Plus, knowing your system has been properly winterized gives you peace of mind throughout the winter months.
After draining your system, protect any above-ground components from temperature extremes. Wrap your main shut-off valve, backflow preventer, and any exposed pipes with foam insulation covers or insulation tape designed for outdoor use.
When insulating backflow preventers, take care not to block air vents or drain outlets. These components need proper airflow even during winter. Insulation protects them from temperature extremes while still allowing them to function as designed.
Check Your Owner's Manual
Different irrigation systems have different requirements. Before you winterize your sprinkler system, consult your manufacturer's manual for any system-specific steps or precautions.
Inspect Your System While You Work
Winterization is an excellent opportunity to inspect your system for issues. Look for damaged sprinkler heads, leaking valves, or areas where water pooled during the season. Making note of these problems now means you can address them in the spring.
Mark Your Calendar for a Spring Startup
While you're thinking about your irrigation system, schedule a reminder for your spring startup process. Your system will need to be gradually brought back online, with careful attention to checking for leaks and adjusting sprinkler heads. Planning ahead ensures you don't forget this important step.
As you think about maintaining your yard this season, remember that small tasks like winterizing your sprinkler system are what keep your outdoor space healthy and ready for the year ahead.
And if you’re dreaming bigger—imagining a complete backyard transformation that makes entertaining, relaxing, and connecting effortless—LiveWell Outdoors can help bring it to life.
From design through maintenance, we create outdoor living spaces that let you enjoy every moment outside, no matter the season. Give us a call at 301-720-1000 or contact us through our website to learn more.
"*" indicates required fields